There are countless articles on how to get the perfect DIY blowout, but many of them feature complicated brush and blow-dry routines, time-consuming hot rollers, or long lists of steps that make the whole process feel so daunting. Worry not, BeautyBraves! There’s a better way – keep reading for our short and sweet how-to that gets into salon-secret tips and provides an easy guide to one of our favorite Calista tools.
What You’ll Need
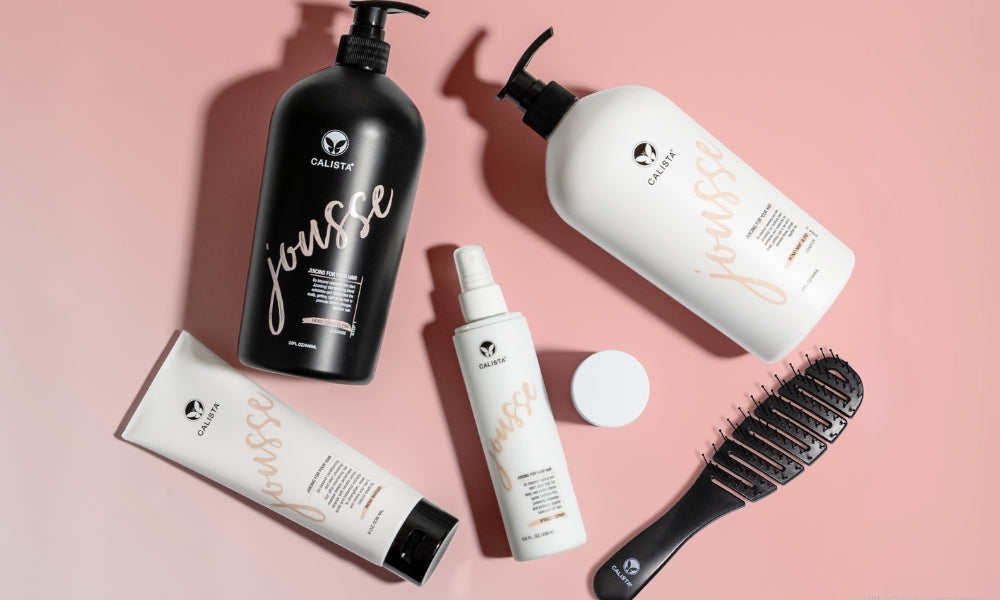
Freshly Washed Hair (Jousse Cleanse & Condition is our favorite for this)
Styling Product (check out our recommendations below!)
Jousse Thermal Spray (protect those locks!)
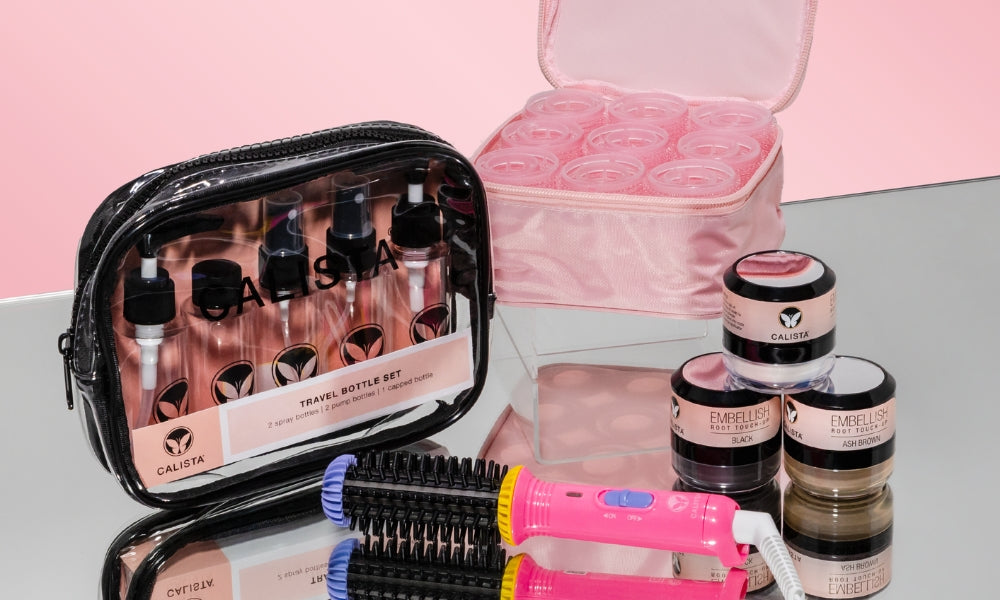
StyleDryer Pro Hair Drying Brush (trust us on this one)
Step 1
Start by towel drying your freshly cleansed and conditioned hair. Wrap your towel around a section of hair and gently squeeze out excess water until you have damp hair ready for product.
Step 2

Choose a styling product and work through damp hair.
If your hair tends to frizz, we recommend Achieve 10 Styling Cream for smooth, shiny volume.
If you want maximum volume or to highlight your natural waves, Embellish Texturizing Foam is the product for you!
For a more texturized look, go with Jousse Gel & Mousse Hybrid.
Step 3
Spritz on Jousse Thermal Spray from roots to ends, covering your whole head to protect from heat damage. Do not skip this step! It may seem inconsequential, but protecting your hair is incredibly important, especially as we age! Read more about aging hair here.
Step 4
Get your StyleDryer – Here’s the thing, we know that a round brush and hairdryer can work for creating a blowout. But Maria specifically created this tool to simplify the process, save you time, and make sure you get consistently fabulous results every time. We can’t recommend it enough!
Step 5

Attach the oval brush attachment in your selected size (the longer your hair, the larger the size we recommend – check out our sizing guide to choose the perfect one for you!)
Step 6

Once your oval brush is attached, section hair to help stay in control while you dry. Turn StyleDryer onto the medium or high heat setting (these settings are great for styling and drying – we’ll get to the low setting later!) and start with the bottom half of your hair, choosing the right or left side to begin.
Step 7
Place oval brush underneath the section starting at the root. Slowly turn the brush outward while brushing from root to tip, creating volume as you dry. Repeat on other side of hair and top section until hair is dry.
Step 8

Now it’s time for that extra volume boost. So many of our instruction books include the phrase “Overdirect your section” – this basically means taking a section of hair and brushing it in the opposite direction of how it’s going to fall. For volume, you can overdirect your hair upward by starting at the crown and bringing a section forward, getting the hair to stand up before flipping it backwards.
Maria’s Tip
Want to lock in your look? Use the low heat setting on the StyleDryer to set your finished look and top off your blowout with a light finishing spray, like Airshape Hairspray – it adds a bit of hold to keep your style in place but is light enough that you can still run your fingers through your hair.
Want more StyleDryer tips? Stay tuned for tips on how to use the Styling Brush, the Root Lift, and other amazing attachments!


Hi Christine! Unfortunately, our Jousse Cleanse & Condition is sold out at this time. Be sure to sign up for Back-in-stock notifications so that you don’t miss its return! You can do this by going to the product page, clicking the button that says “Notify me when available,” and entering your email. If you have any additional questions, please don’t hesitate to reach out to us at CustomerCare@calistatools.com!
Hi, I have been using Jousse which I purchased from you. Is it no longer available? It works the best for my medium length permed hair. I blow dry and style and I’m done! Please let me know, and send recommendations for a replacement if necessary. Thank you. – Christine
Leave a comment